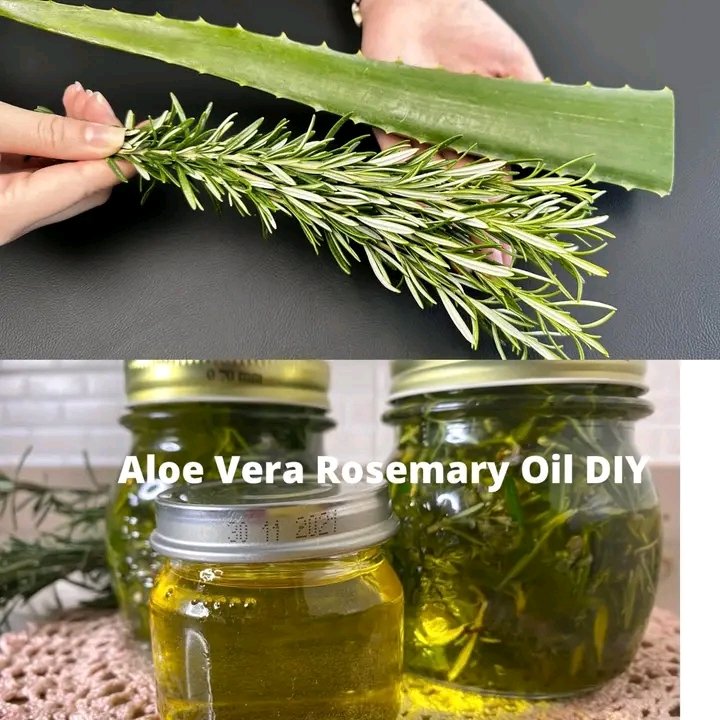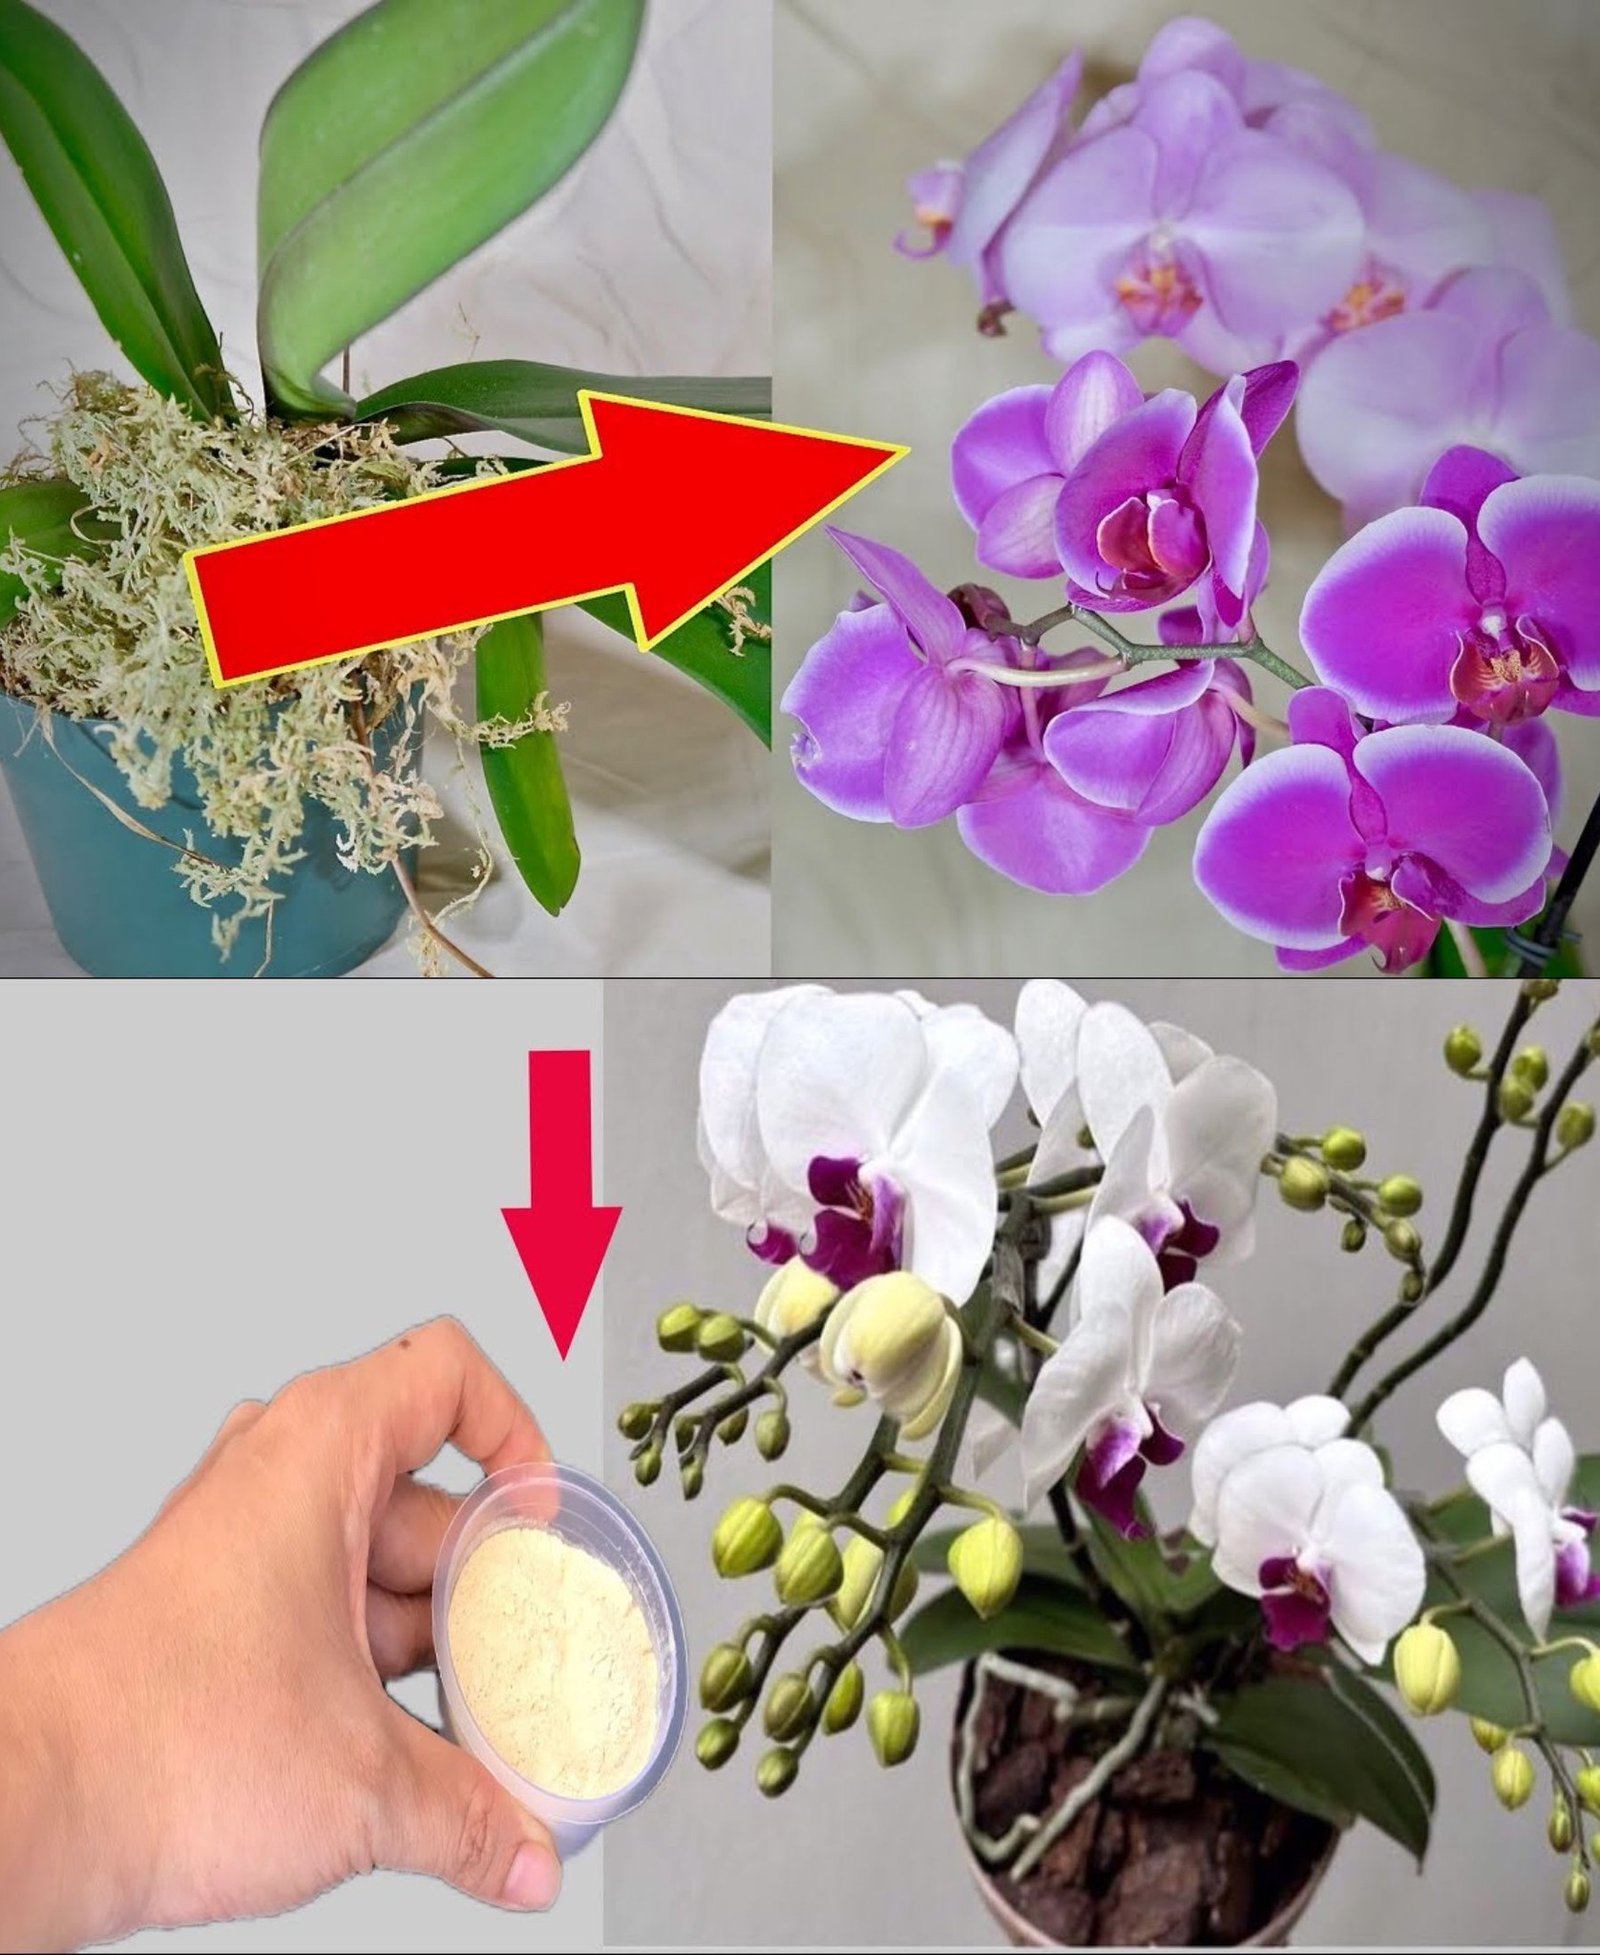
Today, I will share with you a highly effective method to root unrooted orchids. If you have an orchid that has lost all its roots, you can use this technique to encourage rapid root and leaf growth. The key to this method is using sand as the growing medium. I have successfully rooted my orchid in sand, and now it has grown both new leaves and new roots. Let me show you the process step by step.
Why Choose Sand for Rooting Orchids?
Orchids can be rooted in various ways, but using sand provides excellent aeration, drainage, and stability. Sand prevents excessive moisture retention, which is one of the primary reasons orchids suffer from root rot. The orchid I rooted in sand not only developed new roots but also regained its leaf firmness, indicating good health. Now, let’s dive into the process.
Step 1: Inspect the Orchid
If your orchid has lost its roots due to rot or drying out, the first step is to examine its condition. Look at the base of the plant to see if any roots are salvageable. Often, orchids have a sponge-like material inside their root system that retains excessive moisture, leading to decay. This material should be removed carefully.
Step 2: Remove Dead Roots and Leaves
To promote healthy growth, you need to trim off all dead or rotting roots. If the roots pull apart easily or feel like a string, it means they are no longer alive. Cut off all non-viable roots, leaving only the firm and green ones. Additionally, check for dried flower spikes and remove them as well. Trimming unnecessary parts allows the plant to direct its energy toward new growth.
Step 3: Prepare the Pot and Sand
For this method, you need a transparent plastic orchid pot with drainage holes. Transparency allows you to monitor root development easily. At the bottom of the pot, add a layer of gravel or small stones to improve drainage. Then, add construction-grade sand on top. The sand should be slightly damp before planting the orchid. If it is too dry, it won’t settle properly, and if it is too wet, it may cause excess moisture retention.
Step 4: Plant the Orchid
Once the pot is prepared, carefully place your orchid in the center. The base of the plant should be in contact with the sand but not buried too deep. The sand should reach the lower part of the orchid’s stem. If your sand was dry during the planting process, lightly water it to create a moist environment. Now, place the pot near a bright window that receives indirect sunlight.
Step 5: Care and Monitoring
For the next few months, monitor the orchid’s progress. Watering should be done cautiously. If the sand is still moist, there is no need to add more water. Overwatering can lead to rot, so it’s crucial to maintain a balanced moisture level. Placing the orchid in a well-lit area encourages faster growth. Within a few weeks, you should start noticing signs of new root development.
Step 6: Transplanting or Water Culture
After approximately three months, your orchid should have developed sufficient roots and even a new flower spike. At this stage, you have two options:
Transplanting to a New Pot: If you prefer traditional potting, you can now move your orchid to a pot with pine bark, coconut husk, or clay balls. These materials provide good aeration and moisture balance for healthy growth.
Water Culture: Alternatively, you can transition the orchid into water culture. This method involves placing the orchid in a transparent container with just enough water to cover the root tips. The key to successful water culture is to avoid submerging the entire root system. Keep the water level low and replenish it as needed.
Final Tips for Success
Always use a transparent pot to monitor root health.
Place the orchid near a window where it receives bright, indirect sunlight.
Avoid overwatering; sand retains just enough moisture for rooting.
If transitioning to water culture, ensure the roots can still access oxygen.
By following this method, you can revive an orchid that has lost its roots and encourage it to grow into a healthy, thriving plant. With patience and proper care, your orchid will develop strong roots, firm leaves, and beautiful flowers once again. Happy gardening!