Today, I will show you in detail how to care for an orchid after its leaves turn completely yellow, its flowers drop, and the branch dries up. Many people think that once an orchid looks unhealthy, it is beyond saving, but with proper care and patience, you can revive it and encourage new growth.
Understanding Why Orchids Turn Yellow
The biggest reason for an orchid turning yellow is usually a fungal infection. When an orchid is infected with fungus, it quickly starts to lose its vibrancy. The leaves turn yellow, the stems dry out, and eventually, the plant sheds its affected parts. If you notice this happening, the first and most crucial step is to stop watering your orchid for at least one week. This will help slow down the spread of the fungal infection.
Removing Yellow Leaves
To start the revival process, gently remove the yellowing leaves. This will allow you to see the healthy parts of your orchid more clearly. Simply tear off the affected leaves carefully without damaging the rest of the plant.
Using Cinnamon Powder to Stop Infection
Cinnamon powder is an excellent natural antifungal agent that helps dry out infected areas and prevents the spread of disease. After removing the yellow leaves, sprinkle cinnamon powder over the affected areas of the orchid’s stem. This step is vital in ensuring the infection does not continue to harm your orchid. Once you’ve applied the cinnamon powder, refrain from watering your orchid for another week.
Checking the Roots
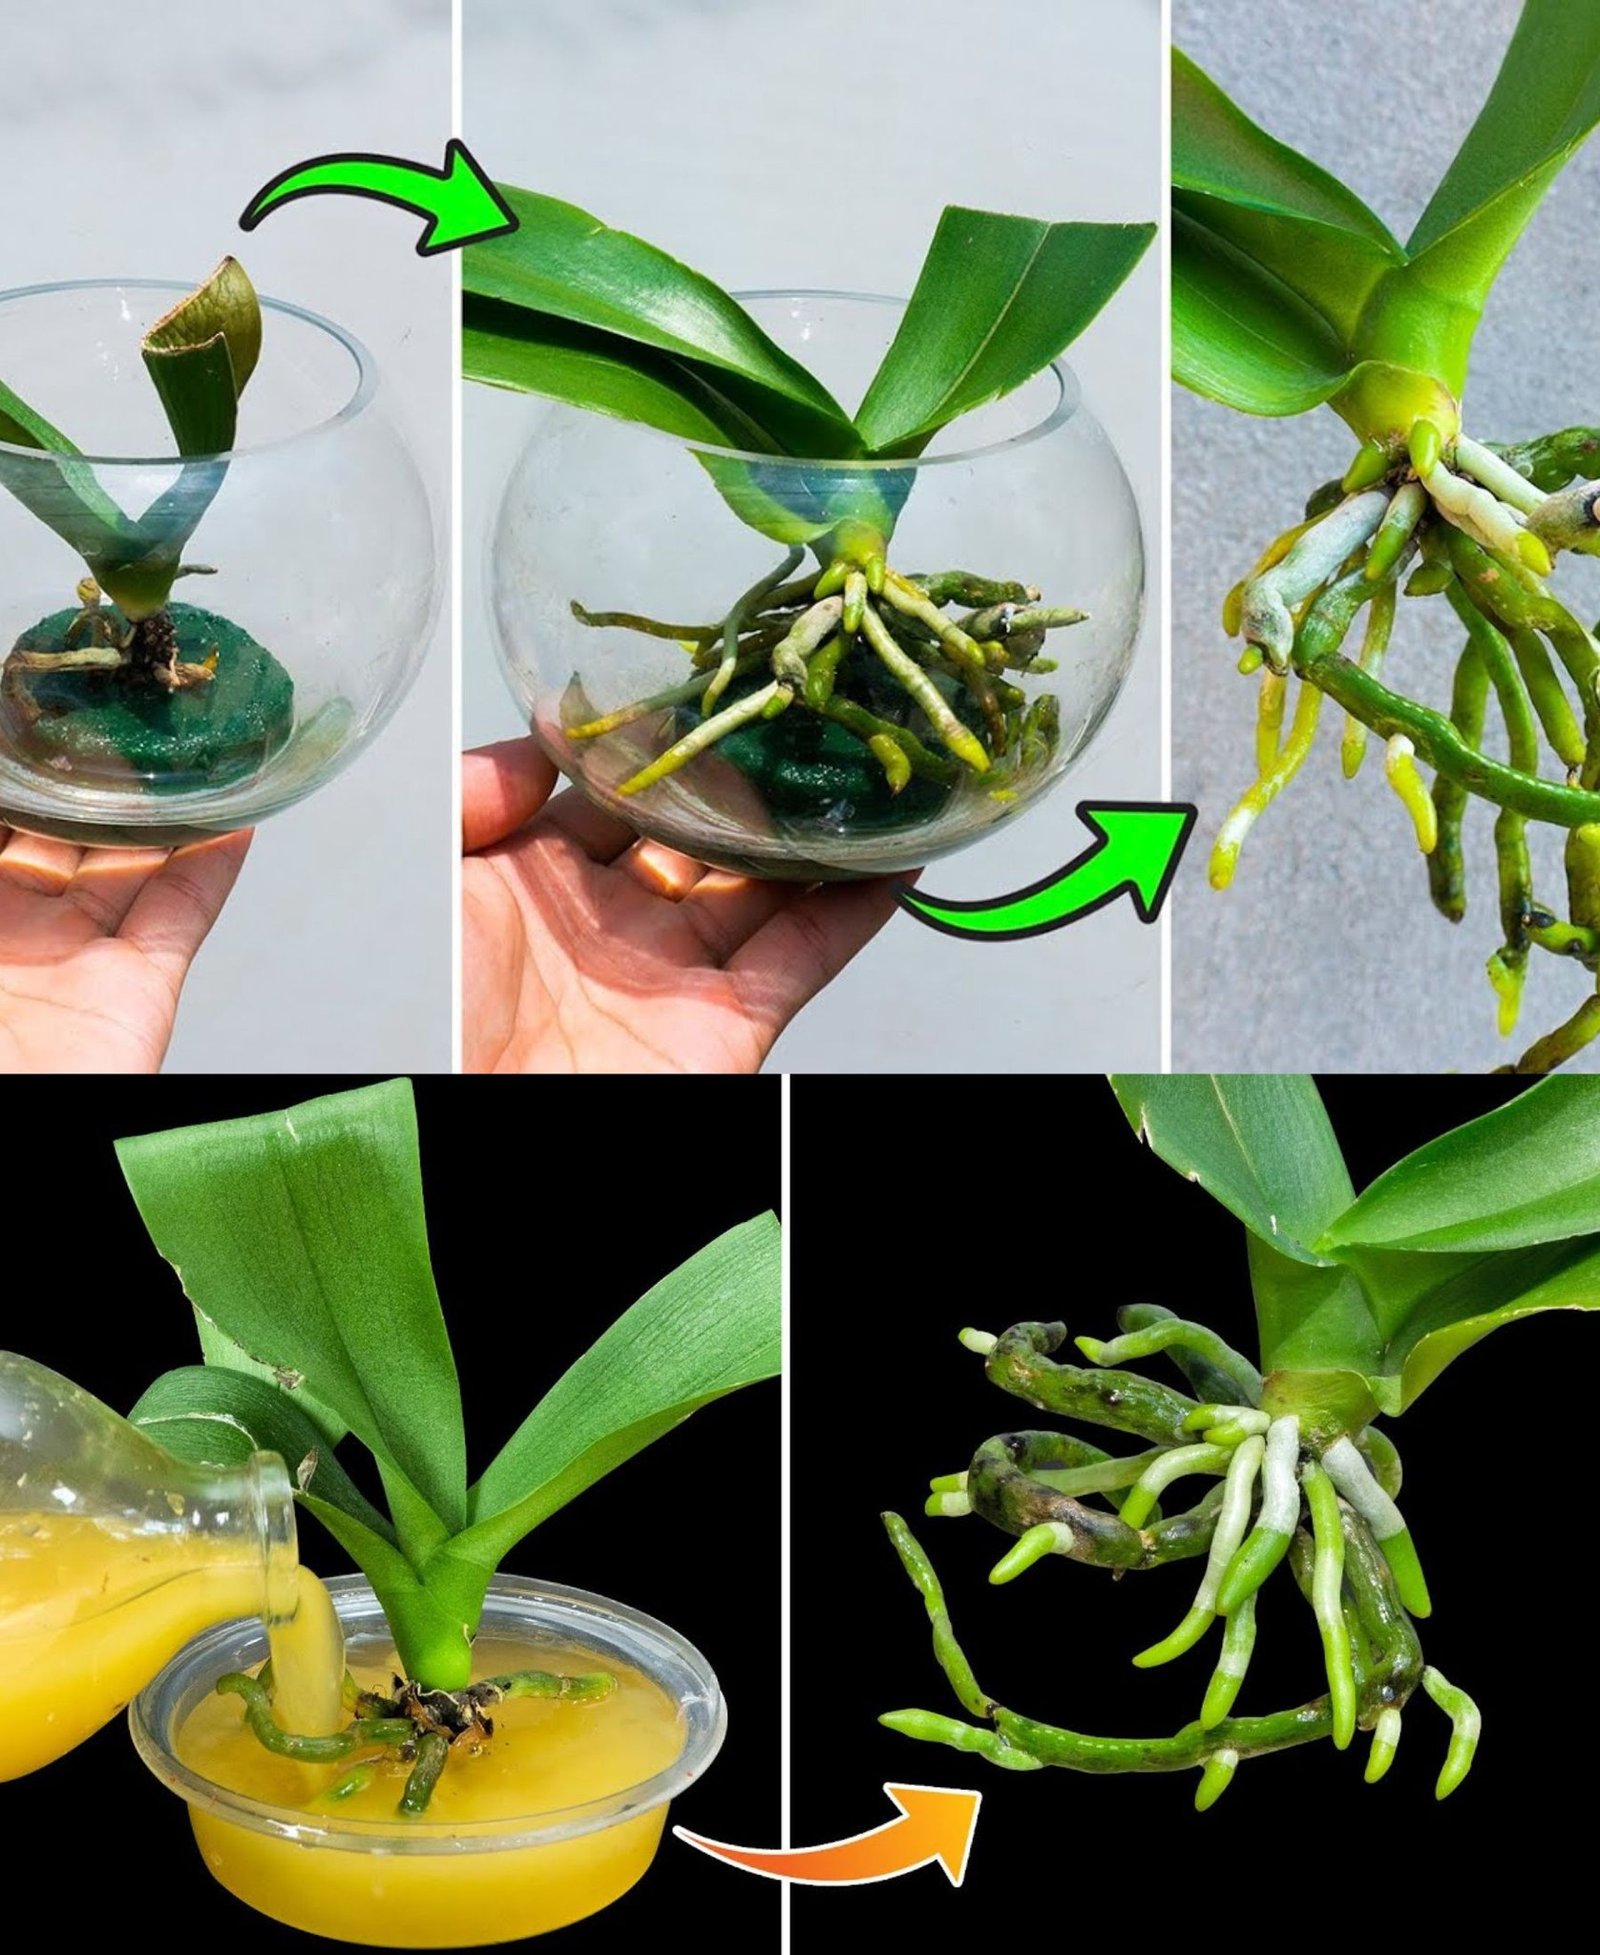
After a week, check your orchid’s progress. By this time, it may have dropped another leaf, but that is normal. The key is to examine the roots. If the roots are still alive, the orchid has a chance of recovery.
Before removing the plant from its pot, water the soil lightly. This will make it easier to extract the orchid without causing additional damage. Once removed, wash the roots thoroughly under running water. Be sure not to wet the stem to prevent further fungal growth.
Trimming Rotten Roots
Next, inspect the roots carefully. You will need a clean, sharp pair of scissors to remove any dead or rotten roots. Healthy roots are firm and green, while rotting roots appear mushy and brown. One way to check is by peeling back the outer layer of a root—if the inner core is stringy and wire-like, the root is dead and should be trimmed. Be careful not to cut any healthy roots, as they are crucial for your orchid’s recovery.
Disinfecting the Orchid with Cinnamon Water
To further disinfect your orchid, prepare a cinnamon water solution:
- Boil 1 liter of water.
- Add one teaspoon of cinnamon powder.
- Stir well and allow the mixture to cool completely.
Once the solution has cooled, submerge the orchid’s roots in the cinnamon water for 30 minutes. This will help eliminate any lingering bacteria or fungus. After 30 minutes, remove the orchid and allow it to dry completely before replanting.
Repotting the Orchid
When choosing a new pot for your orchid, ensure it is the appropriate size for its root system. A pot that is too large will hold excess moisture and may cause further issues.
- Place clay balls or another drainage material at the bottom of the pot to prevent water from accumulating at the roots.
- Add pine bark as the primary potting medium.
- Insert a small piece of sponge in the center of the pot. This helps keep the roots hydrated without excessive watering. If you collect the sponge from nature, be sure to disinfect it with vinegar water before use.
- Add another layer of pine bark to cover the roots.
- Pour the remaining cinnamon water onto the potting medium to ensure the orchid is properly hydrated.
Encouraging New Growth
At this stage, your orchid is on its way to recovery. It is essential to place it in a bright location where it can receive plenty of indirect sunlight.
If you want to accelerate the growth process, consider giving your orchid a liquid phytonutrient supplement. Over time, even orchids that seemed beyond saving can begin to show signs of life again.
Success Stories: Orchids Revived with This Method
I want to share a few success stories to encourage you.
One of my orchids, which had lost all its leaves, began producing a baby orchid (keiki) after a few months of care. At first, it had only one tiny leaf, but with continued attention, it developed three healthy leaves and two roots. This proves that even orchids that appear lifeless can be revived.
Another orchid, which had dried out entirely, eventually produced new flower spikes after undergoing this treatment. With patience and proper care, it flourished, developing strong, vibrant leaves and new blossoms.
Final Thoughts
Many people throw away their orchids when they start to look unhealthy, but as you can see, they can often be saved. By following these steps—removing infected leaves, using cinnamon powder, disinfecting roots, repotting properly, and providing the right care—your orchid can recover and even thrive again.
If you found this guide helpful, be sure to support this method by sharing it with fellow orchid lovers. Happy gardening, and may your orchids bloom beautifully once more!