Today, I will explain in detail how to revive an orchid that has stopped growing and is on the verge of dying. With the right soil mixture, proper care, and a few simple techniques, your orchid can develop new roots and leaves, returning to its healthy state.
The orchid in my hands has leaves that have started to turn yellow. If you notice yellowing leaves, dry roots, and insect layers forming, this indicates a serious problem with the soil. Especially during the development phase, orchids need well-balanced soil and proper care.
Identifying the Problem
The first step is to examine the soil and roots of the orchid. To do this, gently remove the orchid from its pot by tilting it slightly upside down and easing it out without damaging the roots and leaves. When I removed my orchid, I was shocked by what I found.
A layer resembling cinnamon powder had formed inside, but it was actually a layer of mold. Mold and bacteria can severely impact root health, preventing growth and even leading to decay. I also found tiny white insects, another sign of an unhealthy growing environment. The bacterial layer caused the roots to become spongy and dry, making them unable to absorb nutrients properly.
If left untreated, the orchid’s roots would have completely deteriorated. As I touched them, they crumbled easily in my hands, leaving behind only thin wire-like strands. When this happens, the orchid cannot continue to develop.
Removing Damaged Roots
To start the recovery process, I carefully removed all the spongy, hollow, and rotted roots. They broke off easily, which indicates they were already dead. The healthy roots, even if yellowing, should not be removed, as they can recover with proper care. Cutting only the completely decayed roots allows the plant to focus on regrowth.
In cases where the orchid stops growing, leaves start turning yellow, and insects appear, I recommend changing the pot. Normally, I don’t advise frequent pot changes, but in extreme cases like this, it is necessary to provide fresh, healthy soil.
Washing and Disinfecting the Roots
Next, I washed the orchid’s roots under tap water. As you can see, the bacterial layer disappeared, revealing yellow but still viable roots. While disinfecting the roots, do not cut off the yellowing ones. These can recover with proper care. Only remove roots that have become hollow and sponge-like.
To further disinfect, I sprayed the roots with hydrogen peroxide, which helps eliminate microbes. I also cleaned the leaves using lemon water, which acts as a natural disinfectant. When making a pot change, it is crucial to disinfect both the roots and leaves to prevent further disease or insect infestation. However, do not pour lemon juice directly onto the roots. Instead, dip a cotton ball in lemon juice and gently wipe the roots and leaves.
Another important step is to use disinfected scissors when trimming the roots. Before planting the orchid in fresh soil, I recommend dusting the root tips with cinnamon powder. Cinnamon has natural antibacterial properties and helps prevent further rot. However, do not cover the entire root system with cinnamon—only the affected areas.
Choosing the Right Pot and Soil
Orchids thrive in transparent pots with multiple drainage holes. They do not like large pots; their roots develop better in cramped, narrow spaces. A good potting mix is essential for recovery. Start by adding a layer of clay balls at the bottom of the pot to improve drainage. Clay balls absorb excess moisture, preventing root rot.
For the soil, avoid using market-bought potting soil that may contain pests. Instead, use a mix of pine bark and perlite. Pine bark is the best soil component for orchids, but it should not be used alone, as it does not retain enough moisture. Mixing it with peat or coconut husk provides better water retention. Coconut husk is particularly beneficial for orchid development.
Another highly effective ingredient for orchids is moss. Moss keeps the roots moist and helps simulate the orchid’s natural environment, promoting new root growth. I collected moss from a lake picnic area and disinfected it in vinegar water before use. If you collect your own moss, soak it in a solution of half a glass of vinegar and water for at least 30 minutes to remove bacteria.
Repotting and Watering
After preparing the pot and soil, carefully place the orchid inside, ensuring the roots are surrounded by the fresh potting mix. Once the planting process is complete, watering is the next important step. For newly repotted orchids, use the dipping method—pour a glass of water into the pot, let it sit for five minutes, and then drain the excess.
Tracking Progress
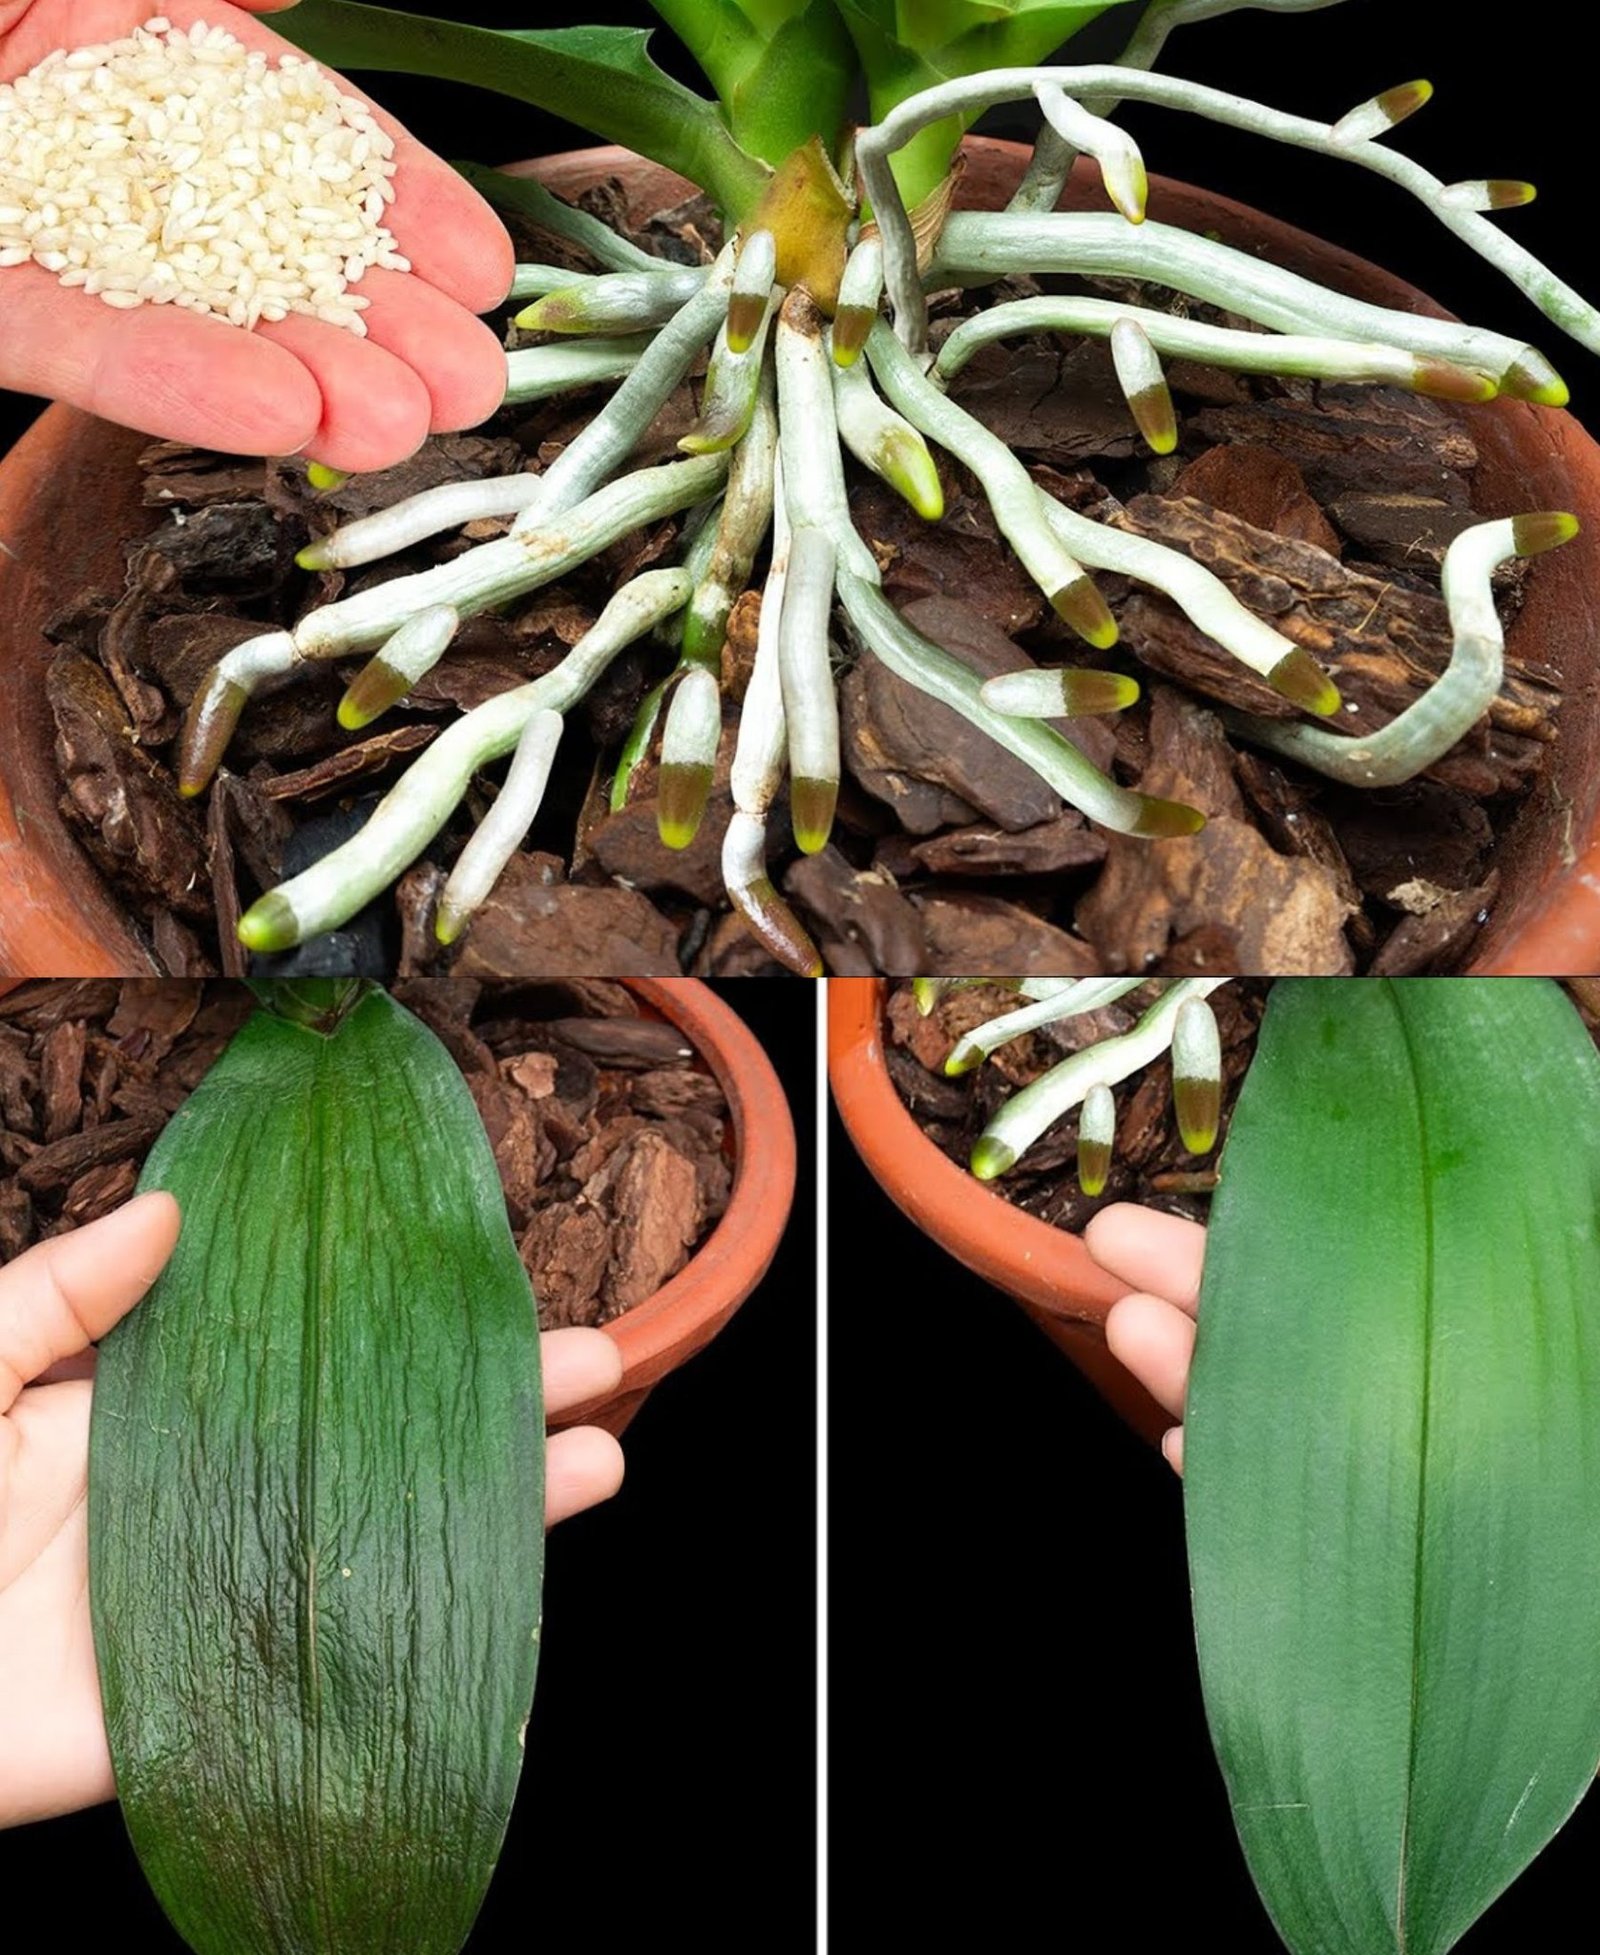
After 21 days, I observed significant improvements in my orchid. The leaves became firmer and more vibrant, and a new leaf had sprouted. The lower leaves, which were initially yellowing, fell off naturally over time. It’s crucial not to pluck yellowing leaves forcefully, as they will shed on their own when the plant is ready.
New roots also started forming, which is a sign that the soil mixture and moss application were highly effective. Moss helps speed up root growth, making it an excellent addition to orchid care. However, proper sunlight exposure, minimal watering, and natural liquid nutrients are equally important for healthy development.
Final Results and Key Takeaways
With the right combination of good soil, moss, proper watering, and adequate sunlight, my orchid not only recovered but also produced new leaves and roots. Soon, a new flower spike will emerge as well. The transformation proves that orchids can recover quickly with the right care and environment.