How to Save a Dying Orchid: Step-by-Step Guide
Orchids are beautiful yet delicate plants that require proper care to thrive. However, if your orchid’s leaves are turning yellow, its roots are disappearing, or the stem is drying out, don’t give up just yet! Today, I will show you an effective method to revive a dying orchid, even if it has no roots left. This method, known as water culture with a rope technique, can help your orchid develop new roots and regain its health.
Identifying a Dying Orchid
Before beginning the revival process, you need to assess the current condition of your orchid. Here are some common signs that your orchid is in distress:
- Leaves turning yellow and becoming soft or wrinkled.
- No visible roots or only dry, shriveled roots.
- A woody, dried-out stem with blackened areas.
- Loss of flowers and lack of new growth.
If your orchid exhibits these symptoms, you can apply the water culture method to encourage new root growth.
Step 1: Disinfect and Prepare the Orchid
- Assess the Damage:
- Check the stem and roots carefully.
- If the roots are rotten, trim them off using sterilized scissors or pruning shears.
- Look for black or moldy areas on the stem.
- Disinfect the Orchid:
- It is essential to eliminate any bacteria or fungal infections before proceeding.
- Apply cinnamon powder to the cut areas, as it has natural antifungal and antibacterial properties.
- Let the plant dry for a few hours before proceeding to the next step.
Step 2: Using the Rope Water Culture Method
Since the orchid has no roots, it cannot absorb water conventionally. The rope method ensures that water reaches the plant gradually without causing further rot.
- Select a Suitable Rope:
- Use a thick cotton or absorbent rope to allow water to travel up to the orchid.
- Cut a piece long enough to reach from the stem to the bottom of the container.
- Tie the Rope to the Stem:
- Gently secure the rope around the base of the orchid’s stem.
- Avoid tying it too tightly, as this can damage the plant.
- Place the Orchid in a Water Container:
- Fill a small glass or jar with about 1-2 inches of water.
- Position the orchid so that only the end of the rope is submerged in the water, while the body remains above.
- Observe the Water Absorption:
- The rope will draw water upwards, providing moisture to the orchid gradually.
- This method prevents excess water from accumulating on the stem, which could cause further rot.
Step 3: Providing the Right Environment
- Choose a Well-Lit Location:
- Place the orchid in a spot with plenty of indirect sunlight.
- Avoid direct exposure to strong sunlight, as this may cause further stress.
- Monitor Water Levels:
- Check the water level daily and refill as needed.
- If the water becomes cloudy, replace it to prevent bacterial growth.
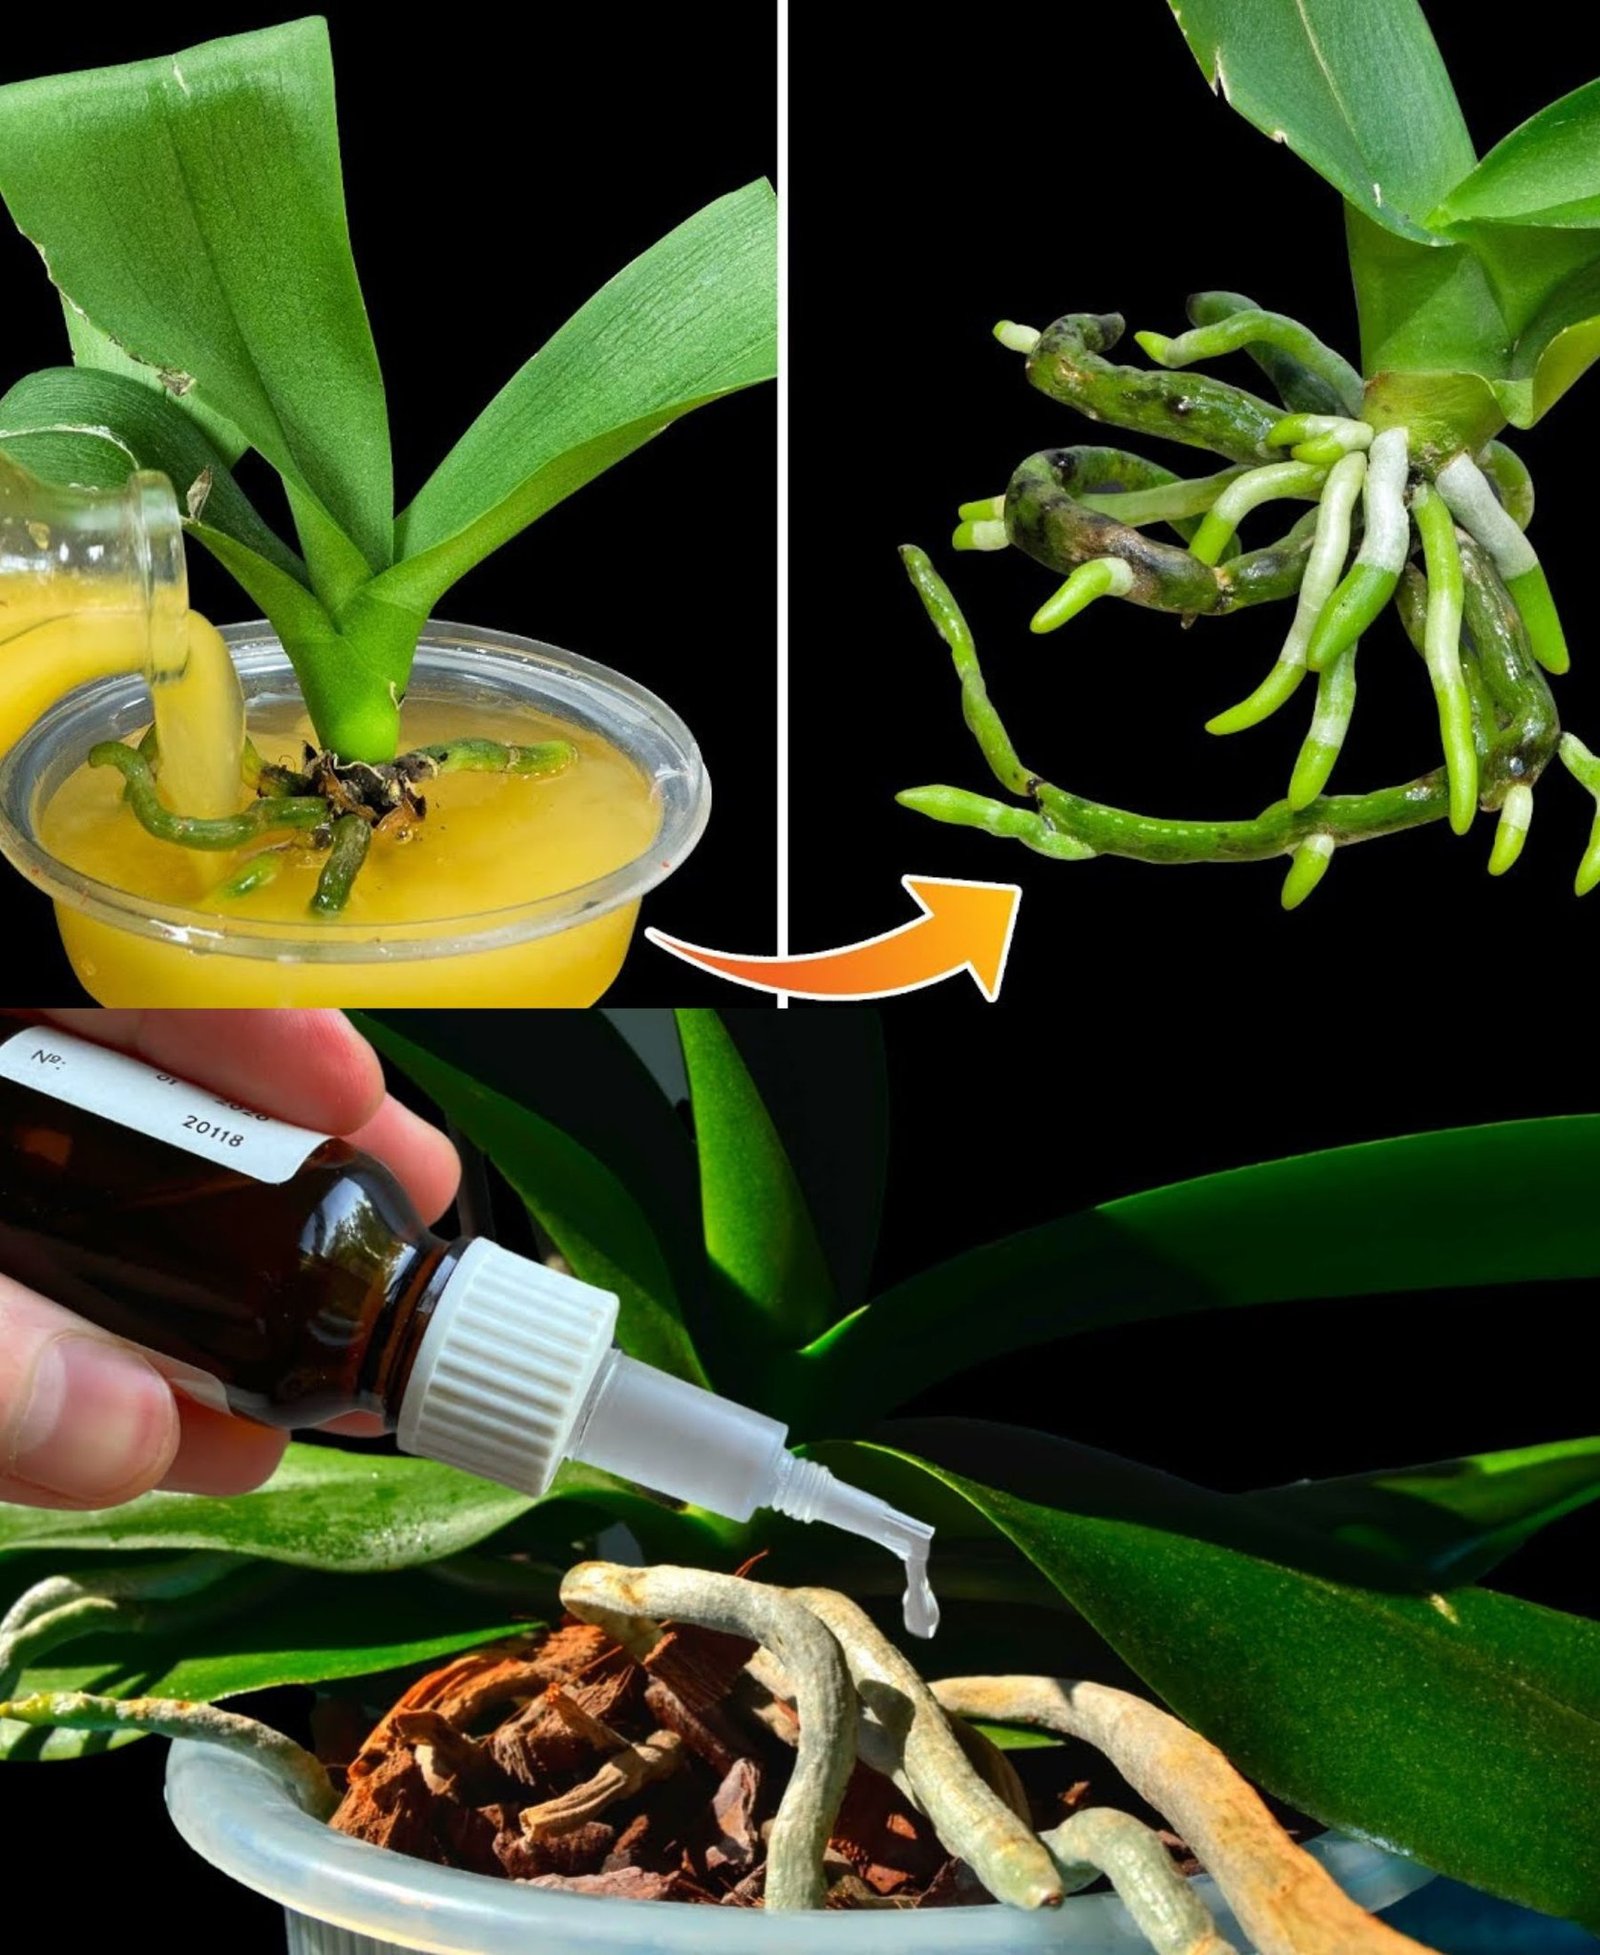
- Wait for Root Development:
- Over time, you should notice small green roots beginning to emerge.
- This process may take a few weeks to a couple of months, depending on the plant’s condition.
Step 4: Transitioning to Soil
Once the orchid has developed at least five healthy roots, each around 5 cm (2 inches) long, it is ready to be transferred to soil.
- Choose the Right Soil Mix:
- Use a well-draining orchid potting mix, such as a blend of bark, perlite, and sphagnum moss.
- Avoid using regular garden soil, as it retains too much moisture and may cause root rot.
- Planting the Orchid:
- Fill a small orchid pot with the potting mix.
- Gently place the orchid inside and spread its roots evenly.
- Do not bury the stem too deep; ensure the roots are covered while the base of the stem remains exposed.
- Watering After Transplanting:
- Water the orchid lightly after planting.
- Continue to keep it in a well-lit spot and monitor its growth.
Step 5: Maintaining the Orchid’s Health
- Regular Watering:
- Water the orchid once the potting mix starts to dry out.
- Overwatering can lead to root rot, so be cautious.
- Use Liquid Plant Nutrients:
- To speed up recovery, you can provide diluted orchid fertilizer once a month.
- If using natural fertilizers, such as eggshell water, soak the roots for only 1-2 hours to prevent odor buildup in the water.
- Continue Providing Light:
- Orchids thrive in bright, indirect light.
- Avoid placing them in dark areas or direct sunlight for extended periods.
Final Thoughts
Reviving a dying orchid may seem challenging, but with patience and proper care, your plant can recover and even bloom again. By using the rope water culture method, you provide the necessary moisture while preventing rot. Once new roots develop, transitioning the orchid back to soil will ensure continued growth. With the right conditions and consistent maintenance, your orchid can thrive for years to come.
If you have tried this method or have any questions, feel free to share your experiences. Orchids may be delicate, but with a little extra care, they can make a stunning comeback!