Craving fresh turmeric without the hassle of a full garden? Good news—you can grow this golden root right in a pot! Whether you’re on a sunny balcony or have a cozy patio corner, turmeric thrives in containers with just a bit of care. Ready to turn a simple pot into a turmeric treasure chest? Let’s dig in.
Why Grow Turmeric in a Pot?
Turmeric (Curcuma longa) isn’t just a spice—it’s a powerhouse of health benefits. From anti-inflammatory properties to digestive support, it’s no wonder people call it “golden medicine.” And guess what? Growing it in pots makes it accessible to everyone, no matter the space.
Here’s why pot-growing rocks:
- Perfect for small spaces and patios
- Easier to control soil and moisture
- Portable—move it with the sun
- Minimal pest problems
What You Need to Get Started
Before planting, gather your turmeric-growing essentials:
A Pot (5-Gallon or Bigger)
Turmeric needs space to spread underground. Use a wide pot—at least 12–14 inches deep and equally wide.
Quality Potting Soil
Go for loose, well-draining soil rich in organic matter. A mix of compost, coconut coir, and perlite works wonders.
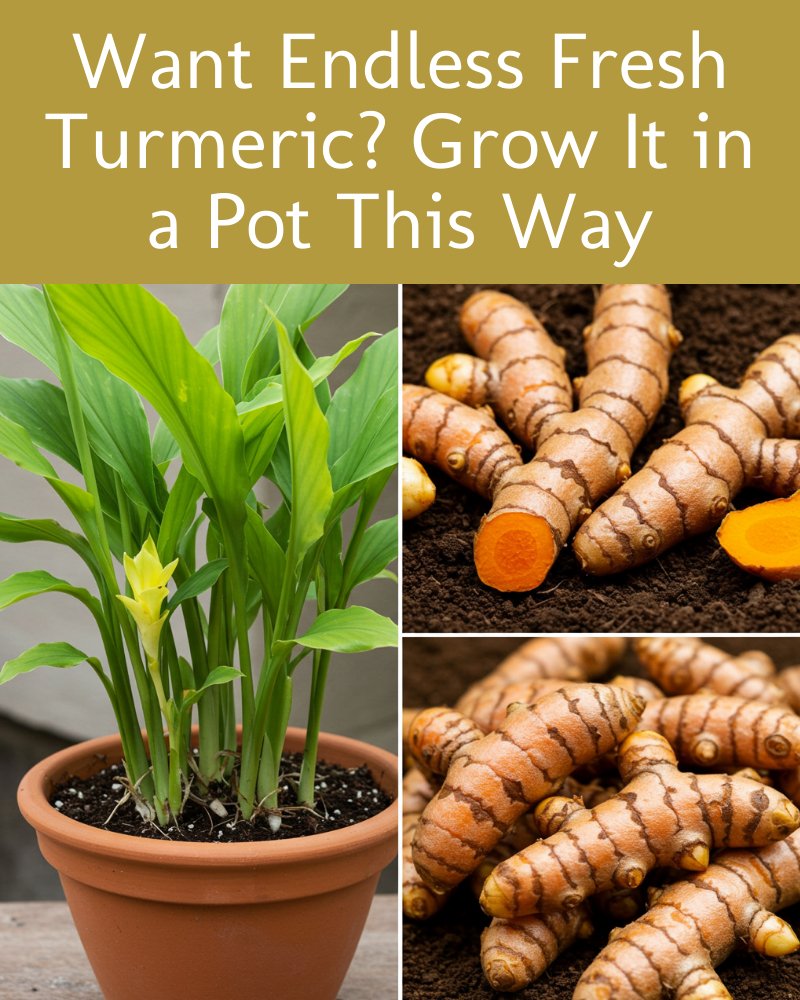
Fresh Turmeric Rhizomes
You’ll need plump, healthy turmeric roots, often sold at organic grocery stores or garden centers. Choose pieces with visible “eyes” or buds—these are growth points.
Warmth & Light
Turmeric loves warmth. You’ll need temps above 70°F (21°C) and a bright spot with indirect sunlight—6–8 hours a day is ideal.
How to Plant Turmeric in a Pot (Step-by-Step)
1. Soak the Rhizomes
Soak your turmeric rhizomes in water overnight. This helps wake them up and encourages faster sprouting.
2. Fill the Pot
Add your soil mix, leaving about 2 inches from the top. Mix in compost or aged manure for a nutrient kick.
3. Plant the Rhizomes
Lay the rhizomes flat, about 2 inches apart and 2 inches deep, with the buds facing upward. Cover gently with soil.
4. Water Gently
Give it a good soak after planting, then keep the soil moist but not soggy. Overwatering can lead to rot.
Turmeric Plant Care Tips
Light and Heat
Turmeric is a tropical plant, so warmth is key. Move the pot indoors or to a greenhouse if it drops below 60°F (15°C).
Watering
Keep the soil consistently moist but not waterlogged. During peak summer, water more frequently. Reduce watering when leaves start to yellow near harvest time.
Feeding
Every 4–6 weeks, feed with a liquid fertilizer rich in potassium or a compost tea to boost growth and rhizome development.
Pruning
You don’t need to prune much—just remove any dead or yellowing leaves to keep the plant healthy.
When and How to Harvest Turmeric
Turmeric takes 8 to 10 months to fully mature. You’ll know it’s ready when:
- The leaves start to yellow and die back
- The plant looks like it’s “resting”
To harvest:
- Gently dig around the base and lift the entire root ball.
- Snap off the rhizomes.
- Rinse them clean and let them dry in the sun for a day.
Bonus: Save a few pieces with buds to replant and start the cycle again!
How to Store Fresh Turmeric
Fresh turmeric can be:
- Refrigerated for 2–3 weeks
- Frozen (whole or grated) for months
- Dehydrated and ground into powder
Just peel and chop as needed. Your smoothies, teas, and golden milk will never be the same!
Common Turmeric Growing Problems (and Fixes)
| Problem | Cause | Fix |
|---|---|---|
| Yellowing leaves early | Overwatering or cold temperatures | Cut back water, move to warmer spot |
| Moldy rhizomes | Poor drainage | Use better-draining soil, fewer waterings |
| No sprouting | Dormant or bad rhizomes | Try fresh rhizomes with healthy buds |
Final Thoughts
You don’t need a farm to grow turmeric—just a pot, patience, and a warm sunny spot. With the right setup, you’ll be harvesting vibrant, homegrown turmeric that’ll spice up your cooking and boost your health all year long.
So, what are you waiting for? Grab a pot, plant those golden roots, and get ready to enjoy endless fresh turmeric—your way.