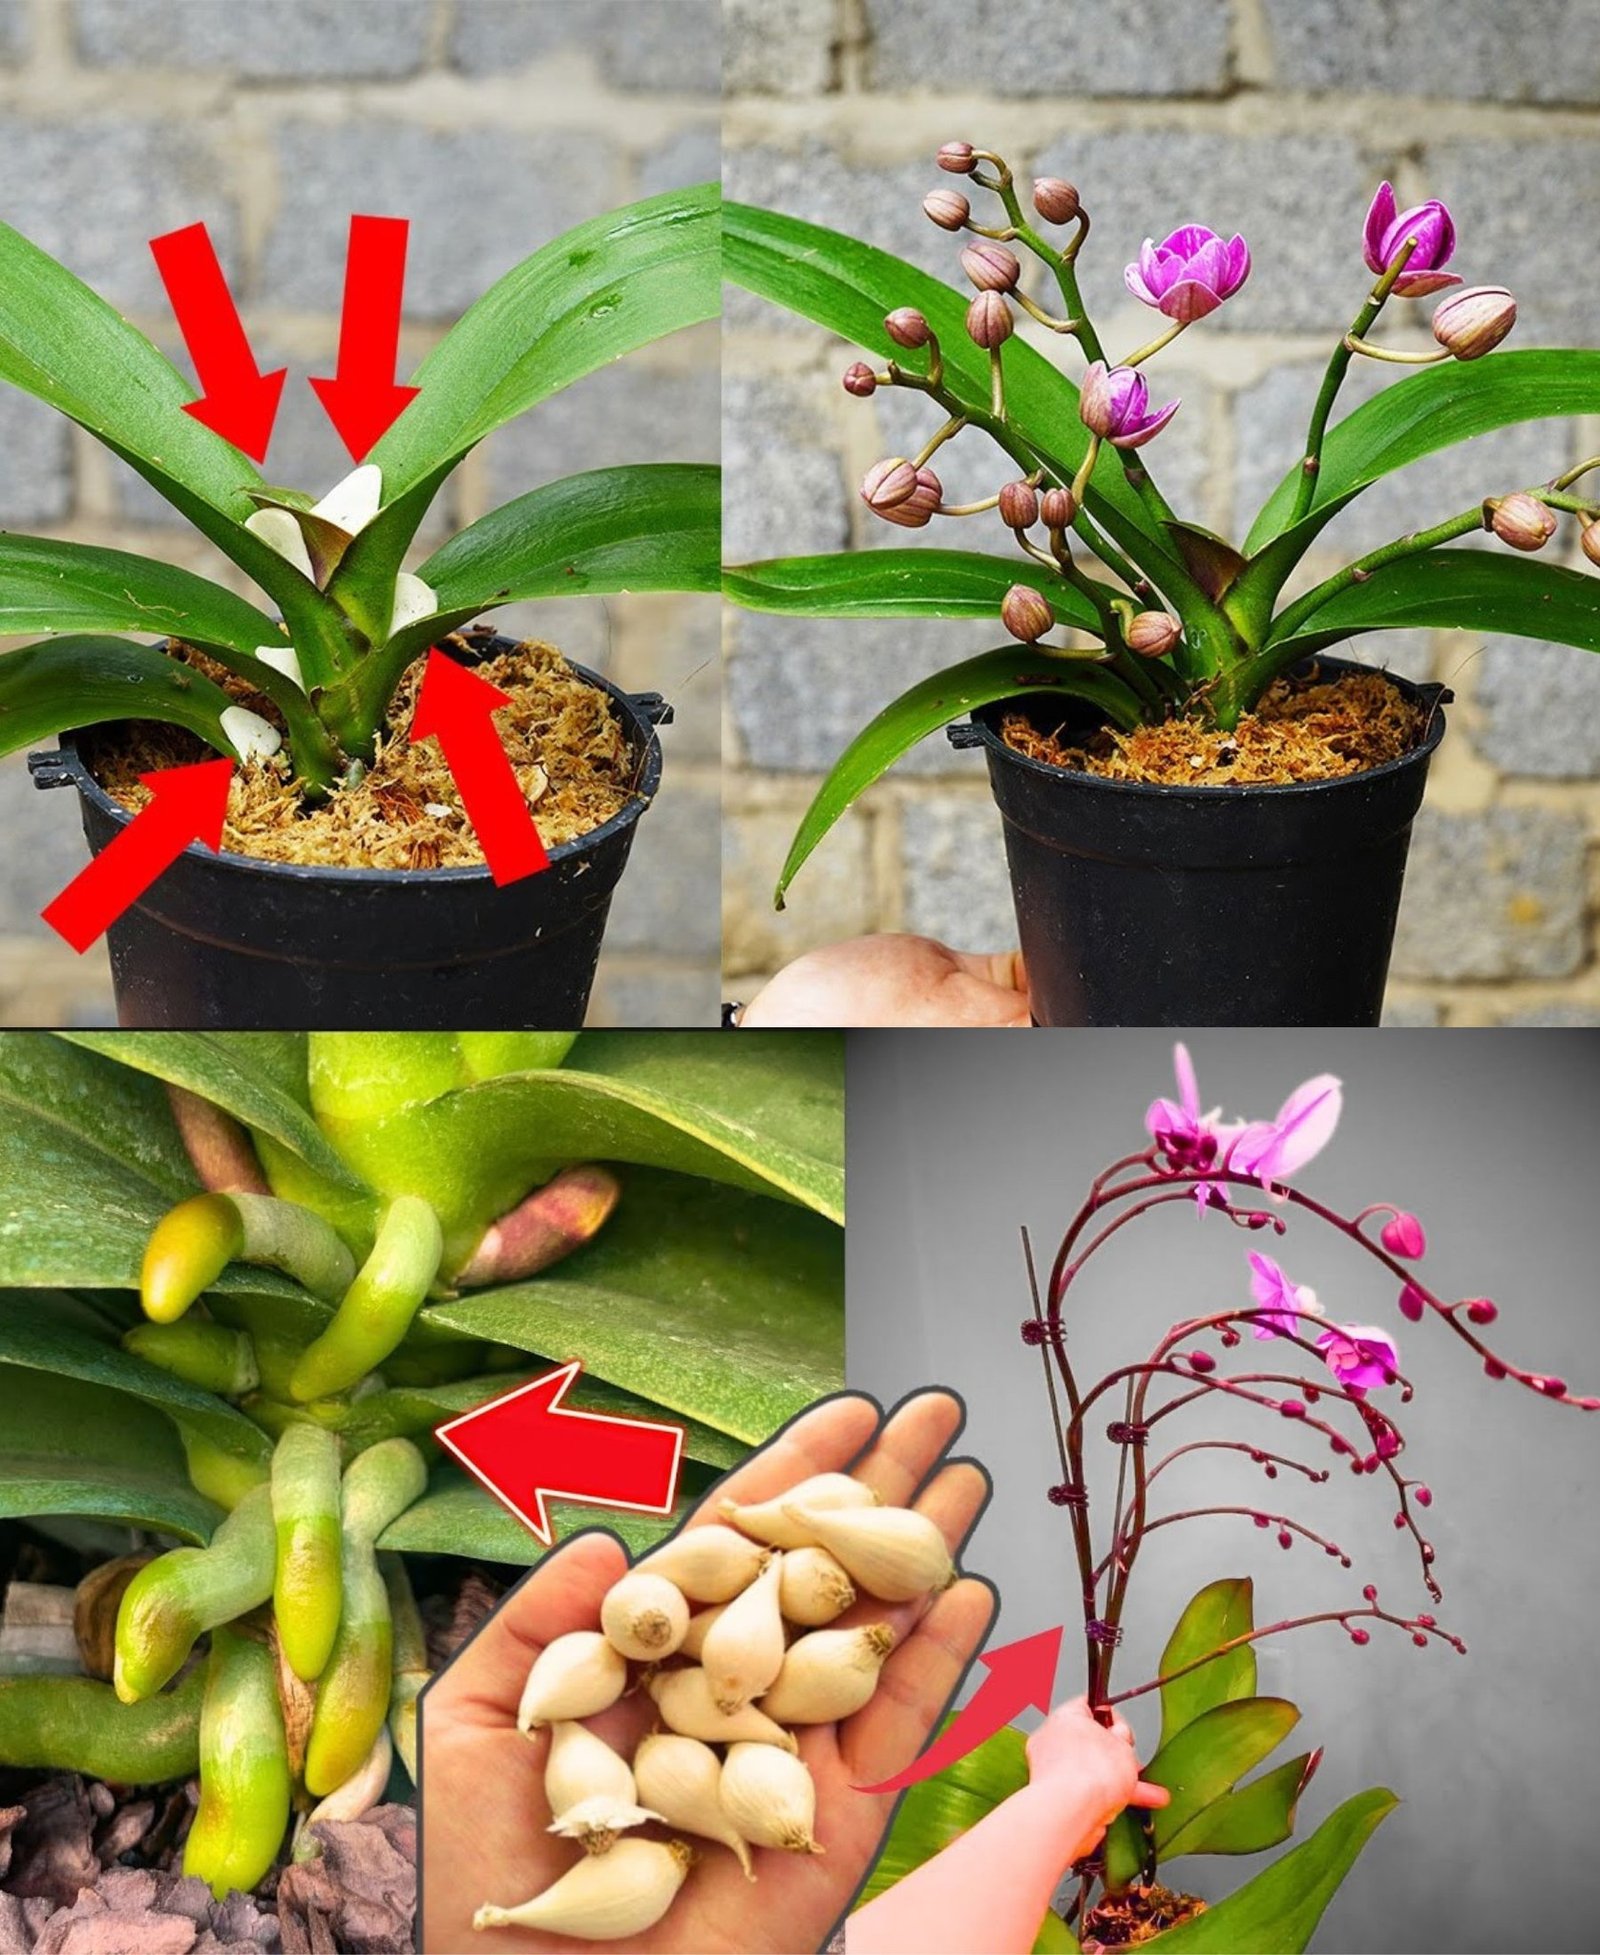
Growing orchids from scratch can be an exciting and rewarding process, especially when you know the right techniques. In this guide, I will show you how to grow orchids, propagate them, and successfully get baby orchids, also known as keikis. One of the key ingredients for this method is garlic, a natural and beneficial element in orchid care. Let’s dive into the step-by-step process.
Preparing the Garlic Solution
Garlic is a powerful natural disinfectant and growth booster for orchids. To create the garlic solution:
- Take a single clove of garlic, including its peel, as the peel contains essential nutrients.
- Chop the garlic clove finely and place it into a 300 ml glass bottle.
- Fill the bottle with water and let the mixture sit for 30 minutes.
While the garlic water is resting, we will prepare the orchid branches for propagation.
Selecting and Pruning the Orchid Branch
To propagate orchids successfully, you need a strong and healthy branch. Follow these steps:
- Identify a healthy main branch, avoiding weak side branches, as they are less likely to produce keikis.
- The chosen branch should be active, green, and full of life.
- Cut the branch at the base using a sterilized sharp tool. Ensure a clean cut to avoid crushing the stem.
- Inspect the branch for green nodes—each node has the potential to sprout a baby orchid or a flower spike.
- Trim off the dried parts and leave three nodes on the branch. Keeping multiple nodes increases the chances of success and prevents the branch from drying out completely.
Disinfecting and Preparing the Branch for Propagation
After pruning the branch, it is crucial to disinfect it before propagation:
- Soak the cut branches in the prepared garlic water for 30 minutes.
- After soaking, use a cotton ball to dry the branches thoroughly.
- Check the tips of the branches—only the bottom should be green, while the top should be dry.
- If the top is still green, seal it by dripping candle wax over it to prevent water loss and dehydration.
Setting Up the Propagation Environment
For successful propagation, we will use a simple but effective method using a plastic bottle:
- Take a thoroughly cleaned plastic bottle.
- Place the prepared orchid branches inside.
- Fill the bottle with water up to approximately 4 cm (about four fingers high).
- Ensure that only the base of the branch is submerged in the water.
- Secure the lid tightly and do not open it again until results start to appear.
The Waiting Process and Monitoring Growth
Patience is key in this process. The humid environment within the bottle helps the nodes activate, encouraging the growth of keikis. Here’s what to expect:
- Over time, condensation will form inside the bottle, maintaining the necessary humidity.
- The nodes will begin to swell, and after a few months, a keiki or a flower spike will start to emerge.
- In some cases, instead of a keiki, a flower branch may develop. This is also a successful result, as it means the branch is active and healthy.
Transferring the Keiki to a Pot
Once the keiki has grown sufficiently, it is time to plant it:
- The keiki should have at least 3-5 roots, each measuring around 4-5 cm before planting.
- Prepare a pot with good drainage holes.
- Layer the bottom of the pot with clay balls to enhance drainage and moisture retention.
- Add a layer of moss on top of the clay balls and spray it with water to moisten.
- Place the keiki carefully, ensuring its roots are positioned on the moss layer.
- Continue adding alternating layers of clay balls and moss, keeping the environment humid but not overly wet.
Caring for the Newly Planted Orchid
After potting, follow these care tips:
- Place the orchid in a bright location, such as a windowsill, where it will receive ample indirect sunlight.
- Water the plant carefully, ensuring the soil remains moist but not waterlogged.
- Monitor the orchid’s growth and provide liquid plant nutrients occasionally to encourage development.
- Be patient—orchids take time to grow, and the entire process from cutting to full growth can take 7-8 months.
Conclusion
Propagating orchids using this garlic water method is highly effective, though it requires patience and consistent monitoring. With the right conditions, your orchids will develop keikis, grow new roots, and eventually thrive as independent plants. By following this step-by-step guide, you can enjoy the process of growing new orchids from scratch and expanding your collection effortlessly. Happy growing!


